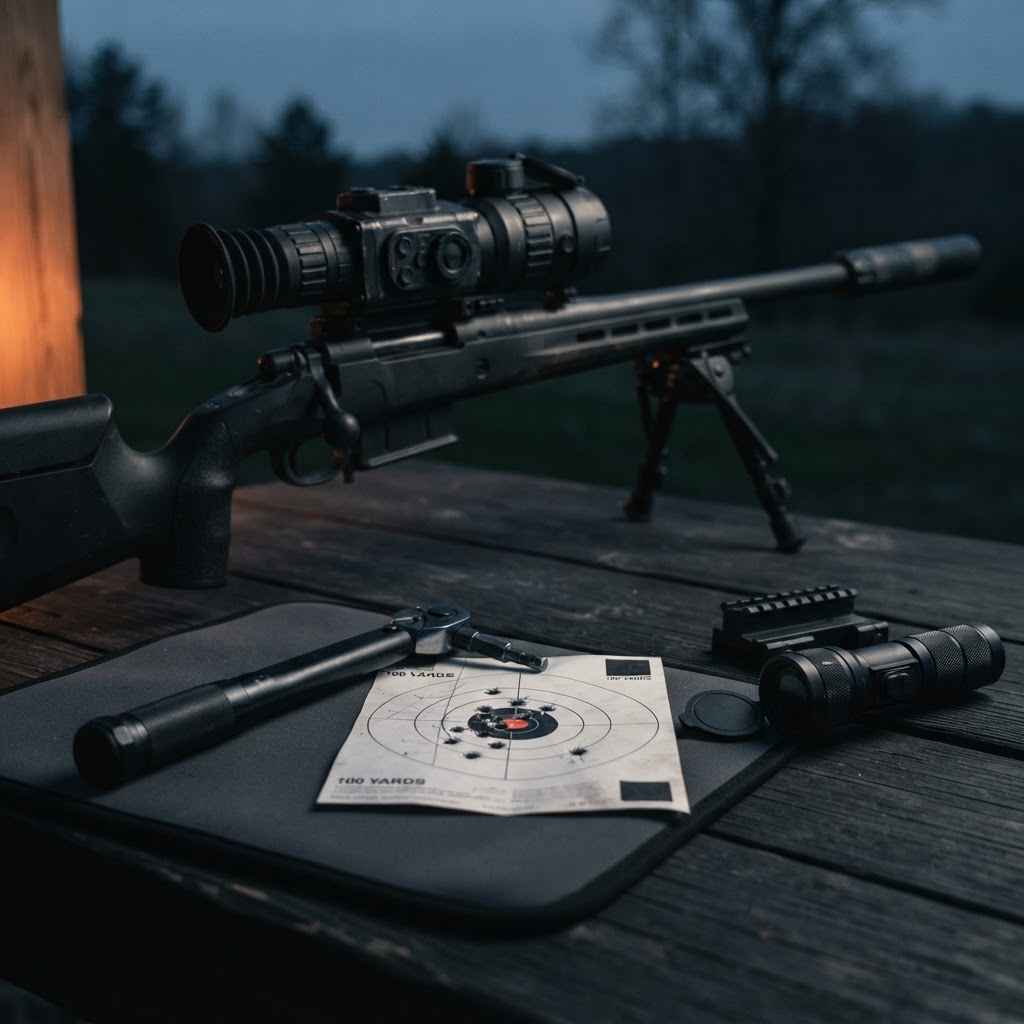

Digital night vision has become the practical default for hunters who want to shoot after legal light. A CMOS sensor, an infrared illuminator and a small screen do the work an image-intensifier tube used to do, and the whole setup costs a fraction of a Gen 3 tube. But a day/night scope only performs as well as its setup. Mounted loosely, focused in the wrong order, or zeroed with the illuminator switched off, it will look like a bad optic when the real problem is the install.
This is the setup sequence that matters on a digital night vision scope, in the order it should be done.
Mount first, menu second
Nothing in the menu matters until the scope is attached correctly.
Set the rings at a height that lets you get behind the scope with your eyes closed and open them onto a full image, with no head lift or crawl. Digital day/night scopes generally want a little more eye relief than a glass scope, so check the manufacturer's figure rather than copying a daytime setup.
Torque the ring screws to the manufacturer's specification with a driver, not by feel. A scope that shifts a few thousandths under recoil will not hold zero, and the shift usually shows up on the third or fourth group rather than the first.
Level the reticle to the rifle with a plumb line or a leveling kit. A canted reticle is easy to miss on a screen and expensive at distance, because it puts windage error into every elevation correction.
Mount the illuminator on the same rail or ring set as the scope. Anything that can move independently of the optic is a variable you have to chase later.
Focus in this order
Focus is where most digital scopes get set up wrong, because two different adjustments both look like focus.
Start with the ocular or diopter, with the objective capped or pointed at a blank wall. Adjust until the reticle itself is crisp. That adjustment belongs to your eye, and once it is right you should not touch it again, even if another shooter picks up the rifle.
Then set the objective or parallax focus on a target at the distance you actually shoot, in daylight. This is the adjustment that sharpens the image.
The common mistake is using the objective to sharpen the reticle. It does not, and every turn of it costs image sharpness at your zero distance. At night, the only focus you should still be adjusting is the beam focus on the illuminator itself.
Zeroing a digital scope
Zero in daylight first. A digital scope's zero does not change between day and night, so daylight gives you a clear, high-contrast target and saves battery and IR wear.
Bore-sight to get on paper at 25 yards, then move to 100 yards for the real zero. Fire a three-shot group, measure the center of the group from your point of aim, dial that correction into the menu (or use the scope's one-shot zero routine if it has one), and fire a confirmation group. Do not adjust after every single shot; you will chase the group instead of centering it.
Save the profile and name it after the load. Digital scopes store several profiles, and switching ammunition without switching profiles is the most common reason a scope appears to "lose zero". It did not lose anything. It is still zeroed for the old load.
Confirm the zero at night, at the IR power you will actually hunt with. The zero does not move, but the aim point on a low-contrast target at night is not the same as a black bullseye in daylight, and that difference is worth seeing on paper before it matters on an animal.
Dialing in the IR illuminator
An illuminator only helps if its beam lands where the scope is looking. Point the rifle at a target 50 to 100 yards out, turn the IR on, and adjust the illuminator until the brightest part of the beam sits in the middle of the scope's field of view. Then tighten it down and recheck.
Focus the beam for the work. A tight spot reaches further and keeps spill off your position; a flood lights up close cover for scanning and tracking. Most hunters end up somewhere in the middle.
Start at the lowest IR power that gives a usable image. More IR is not better: overdriven IR washes out detail at close range, reflects off grass and brush, and makes the image harder to read, not easier. Bring the power up until you can identify the target, then back it off one step.
Check your state's rules on artificial illumination before you hunt with an IR source. The beam is invisible to the naked eye, but that does not make it legal everywhere.
Image settings worth changing
Set screen brightness low enough that the display does not light your face or spoil your dark adaptation. The image should be just bright enough to read, no brighter.
Turn gain up only as far as the scene needs. A dim image with good contrast beats a bright, noisy one, and it preserves your night vision between looks.
If the scope has automatic brightness or auto-gain, watch for it hunting between scenes. On a scope that keeps re-metering, switching it to a fixed setting gives you a steadier image and a consistent aim point.
Power, storage and recording
Use fresh lithium cells. Digital scopes draw far more current than glass optics, and alkaline batteries fall off sharply in cold weather. Carry a spare and know how long the scope's sleep mode actually lasts.
If you record, set resolution and frame rate before the hunt. Changing recording settings on a cold, half-drained battery in the dark is how hunters end up with a corrupt file of the one shot that mattered.
At a glance
| Scope | Price | Type | Notes |
|---|---|---|---|
| AGM Spectrum 4K Mini Day/Night 3.5-20.5 40MM | $645 | Digital day/night | Compact 4K body, simple menu |
| ATN X-Sight 5 3-15X Day/Night | $659 | Digital day/night | Ballistic profiles, recording |
| ATN X-Sight 5 LRF 3-15X Day/Night | $1,095 | Digital day/night with rangefinder | Built-in LRF feeds the ballistic solver |
The pre-hunt checklist
Rings torqued, reticle level, diopter set and left alone, objective focused at your zero distance, zero confirmed with the load in the profile, illuminator aligned and focused, brightness low, fresh battery in and a spare in the pack. Run that list once at the bench and again before you leave the truck, and the scope will do its job.


