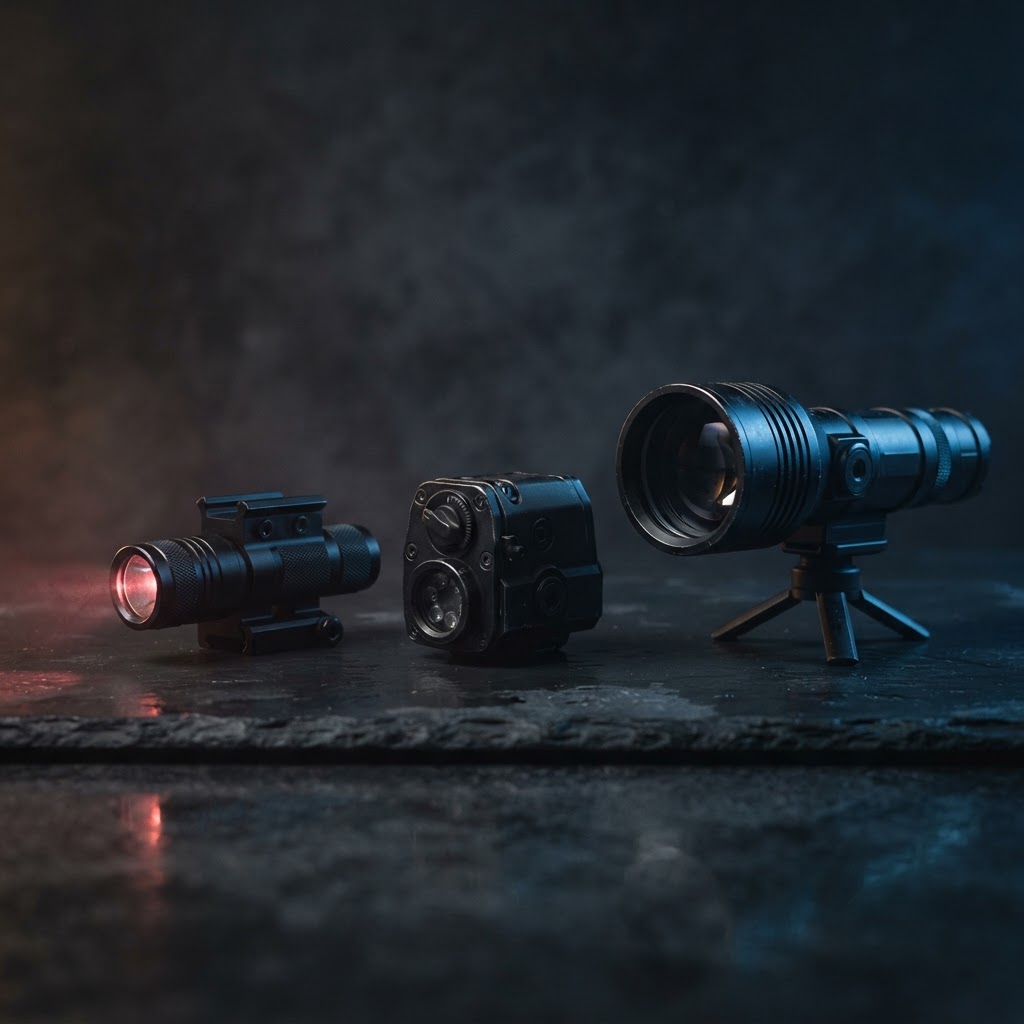

Most hunters spend their research budget on the scope and treat the illuminator as an afterthought. It is the other way around in the field. A digital night vision scope can only show what light reaches the sensor, so the illuminator decides how far you can see, how clean the image looks and how much of the scene is usable at once.
This guide covers what actually changes the result: beam shape, wavelength, power control and how the unit is mounted.
The illuminator sets the usable range
A digital sensor builds an image from photons. Under a full moon on open ground, ambient light may be enough at close range. Under canopy, on a cloudy night, or looking into a treeline, the scope is working with almost nothing and the image turns to grain.
Adding IR fixes that, but only where the beam lands. Two illuminators with the same claimed power can perform very differently, because what matters is how tightly the beam is focused and how evenly it covers the area you are actually watching.
Match the beam to the field of view
The beam should cover roughly the same area the scope is looking at, at the distance you expect to shoot.
A narrow spot beam concentrates light for long range, but at 30 yards it lights a small circle in the middle of the screen and leaves the edges dark. That is fine for picking up an animal at distance and poor for scanning close cover or tracking something that moves.
A wide flood lights the whole field of view but spreads its energy thin, so it falls off quickly with distance.
Adjustable-focus illuminators solve this by letting you change the beam for the task. If you only buy one unit, buy one you can focus.
850 nm or 940 nm
The two common wavelengths trade visible glow against reach.
An 850 nm illuminator produces more usable light for the same power, costs less, and reaches further. The trade is a faint red glow at the emitter that a person or animal looking directly at it can sometimes detect.
A 940 nm illuminator produces no meaningful visible glow, which matters if you are hunting animals that react to light or working around people. The trade is less effective reach and typically a higher price for the same performance.
If you hunt pressured animals at close to mid range, 940 nm is often the safer choice. If you are calling coyotes at distance or hunting hogs in open country, 850 nm gives you more image for the money.
Power control matters more than peak output
The best illuminators have several power levels or a dimmer, and the reason is not battery life. It is image quality.
Overdriving IR at close range washes the image out: grass and brush reflect hard, highlights clip, and detail disappears in a bright blur. The same unit at half power often gives a clearer, more readable picture at 40 yards than it does at full.
Start low, raise power only until the target is identifiable, then back off one step. That habit also keeps your emitter from being an obvious light source on a hillside.
Mounting and alignment
An illuminator that is not aimed where the scope is looking is just a flashlight pointed at the wrong tree.
Mount it on the same rail or ring set as the scope so it cannot drift independently, then align it at the distance you will shoot: point the rifle at a target 50 to 100 yards out, turn the IR on, and adjust until the brightest part of the beam sits in the middle of the scope's field of view. Tighten everything and recheck.
Offsets matter. An illuminator mounted well to the side of the scope will throw its beam off-axis at close range even when it is correct at 100 yards, because the two are not parallel. Keep the mount as close to the scope's centerline as the rifle allows, and check the alignment at two distances if the unit sits far out on the rail.
Power source and switching
Most rail illuminators run on CR123A or 18650 cells; helmet and head units often use the same. Carry a spare set and use lithium cells in cold weather, since alkaline cells lose voltage quickly below freezing.
A remote pressure switch is worth having on a rifle-mounted unit, so you can light the scene without breaking your grip. Check that the switch does not rattle loose under recoil, and route the cable where it cannot snag on vegetation or a sling.
Legal and safety notes
Artificial illumination rules vary by state and by season. Some states restrict or prohibit the use of artificial light for hunting even when the light is outside the visible spectrum. Check your regulations before you hunt with an IR source, and check them again if you cross a state line.
Never look into an IR emitter at close range, even though you cannot see the beam. Treat it exactly like a visible light of the same power.
Which one to buy
For scanning fields and calling at distance, choose a focusable 850 nm unit with multiple power levels and a tight spot setting.
For close cover, thick timber and pressured animals, choose 940 nm with a wider beam and good dimming.
For helmet or head use, prioritize weight, a wide even beam and simple switching over peak output, because you are lighting a walking pace, not a 300 yard shot.
At a glance
Whichever illuminator you choose, it pairs with a digital day/night scope that has to be mounted, focused and zeroed properly first.
| Scope | Price | Type |
|---|---|---|
| AGM Spectrum 4K Mini Day/Night 3.5-20.5 40MM | $645 | Digital day/night |
| ATN X-Sight 5 3-15X Day/Night | $659 | Digital day/night |
| ATN X-Sight 5 LRF 3-15X Day/Night | $1,095 | Digital day/night with rangefinder |
If the scope is new to you, start with our setup sequence before shopping for an illuminator: the mount, the focus order and the zero all change how much the beam can help.


