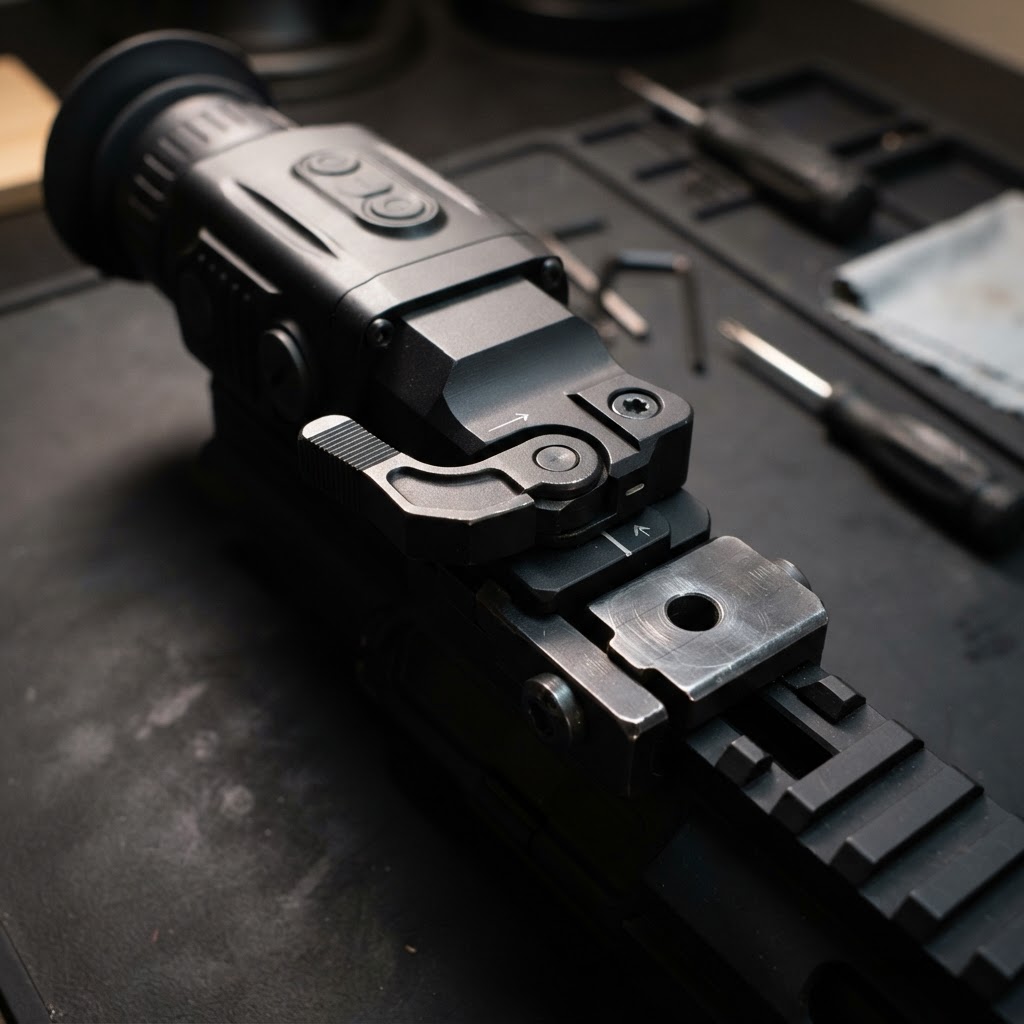

Lead: A quick-release (QD) mount provides the convenience of removing or swapping thermal optics without tools, but return-to-zero performance must always be validated on the range rather than assumed. Used properly, a reliable QD mount allows shooters to alternate between daytime optics and night vision/thermal units or move an optic between firearms while maintaining an acceptable point of impact. Verifying repeatable lockup and eliminating mechanical shift are critical steps before relying on any quick-release system in the field, as highlighted by Nocpix's Thermal Scope Mounting Guide.
What a Reliable QD Mount Requires
- Consistent return to zero: The locking clamp or lever mechanism must consistently index against the rail slots without shifting the point of impact when refitted, a requirement detailed by Blackwood Outdoors.
- Positive lockup without movement: The mount must clamp securely with sufficient pressure to prevent forward or backward sliding under recoil forces.
- Recoil lug engagement: The system must engage standardized rail slots (such as MIL-STD-1913 Picatinny) to prevent movement caused by recoil impulse.
- Proper torque and thread engagement: Base screws attaching the mount to the optic prism or housing must be tightened to specification and secured with thread sealant, as instructed in Pulsar's Weaver QD Mount Instruction Manual.
The Return-to-Zero Verification Test
Before deploying an optic in the field, shooters should run a structured verification procedure as recommended by industry mounting guidelines:
- Secure the mount to the optic following manufacturer torque instructions, place the optic onto the rail, engage the locking levers, and zero the firearm.
- Shoot a baseline three-shot group at your zero distance to establish point of impact.
- Release the quick-detach clamp, take the optic completely off the rail, remount it in the exact same slot, push the optic forward against the recoil lugs to seat it, and secure the levers.
- Fire a follow-up three-shot group to compare the point of impact against the baseline.
- Repeat the removal and firing cycle across several iterations to confirm that the mount consistently maintains zero within practical hunting or tactical tolerances.
If the point of impact drifts between groups, check for loose base hardware, debris, or poor rail dimensions before attempting further field adjustments.
Operating Habits for Consistent Mount Performance
- Consistent installation procedure: Always mount the optic in the exact same Picatinny slot and apply forward pressure against the recoil lugs before locking the clamps.
- Keep rail surfaces clean: Ensure the firearm rail and mount contact surfaces are free of oil, carbon, grit, and debris.
- Apply witness marks: Use paint pens or witness marks on both the mount hardware and the rail to quickly verify if screws have backed out or if the optic position has moved.
- Periodic verification: Re-test return to zero after significant impact, travel, or prior to the start of an active hunting season.
Where a QD Mount Is Practical vs. When to Use Fixed Mounts
- Day-to-night transitions: Switching between a dedicated daytime riflescope and a thermal optic on the same rifle rail.
- Multi-rifle deployment: Sharing one thermal optic across multiple rifles that support saved zero profiles.
- Transport and protection: Removing sensitive thermal optics from the rifle for padded transport or safe storage.
When a fixed mount is better: Dedicated rifles that permanently host a single thermal optic benefit from fixed mounts, which eliminate moving levers and clamping variables, as noted in Nocpix's Thermal Scope Mounting Guide.


